The Art of Editing: A Peak Behind-The-Scenes!
The Art of Editing:
A Peak Behind-The-Scenes at Iris and Lace Photography
Today I want to help demystify all the ~secret~ things happening behind the scenes at Iris & Lace.
(And these are truly secrets, because normally I don’t ever show RAW, unedited photos, since obviously they don’t live up to the high quality of Iris & Lace Photography! But today you’re getting an inside peak at all the hidden work I do after our session together.)
As you know, there’s a BIG different in a snapshot, and a professional image.
A lot of the magic is in the post-processing of the photos.
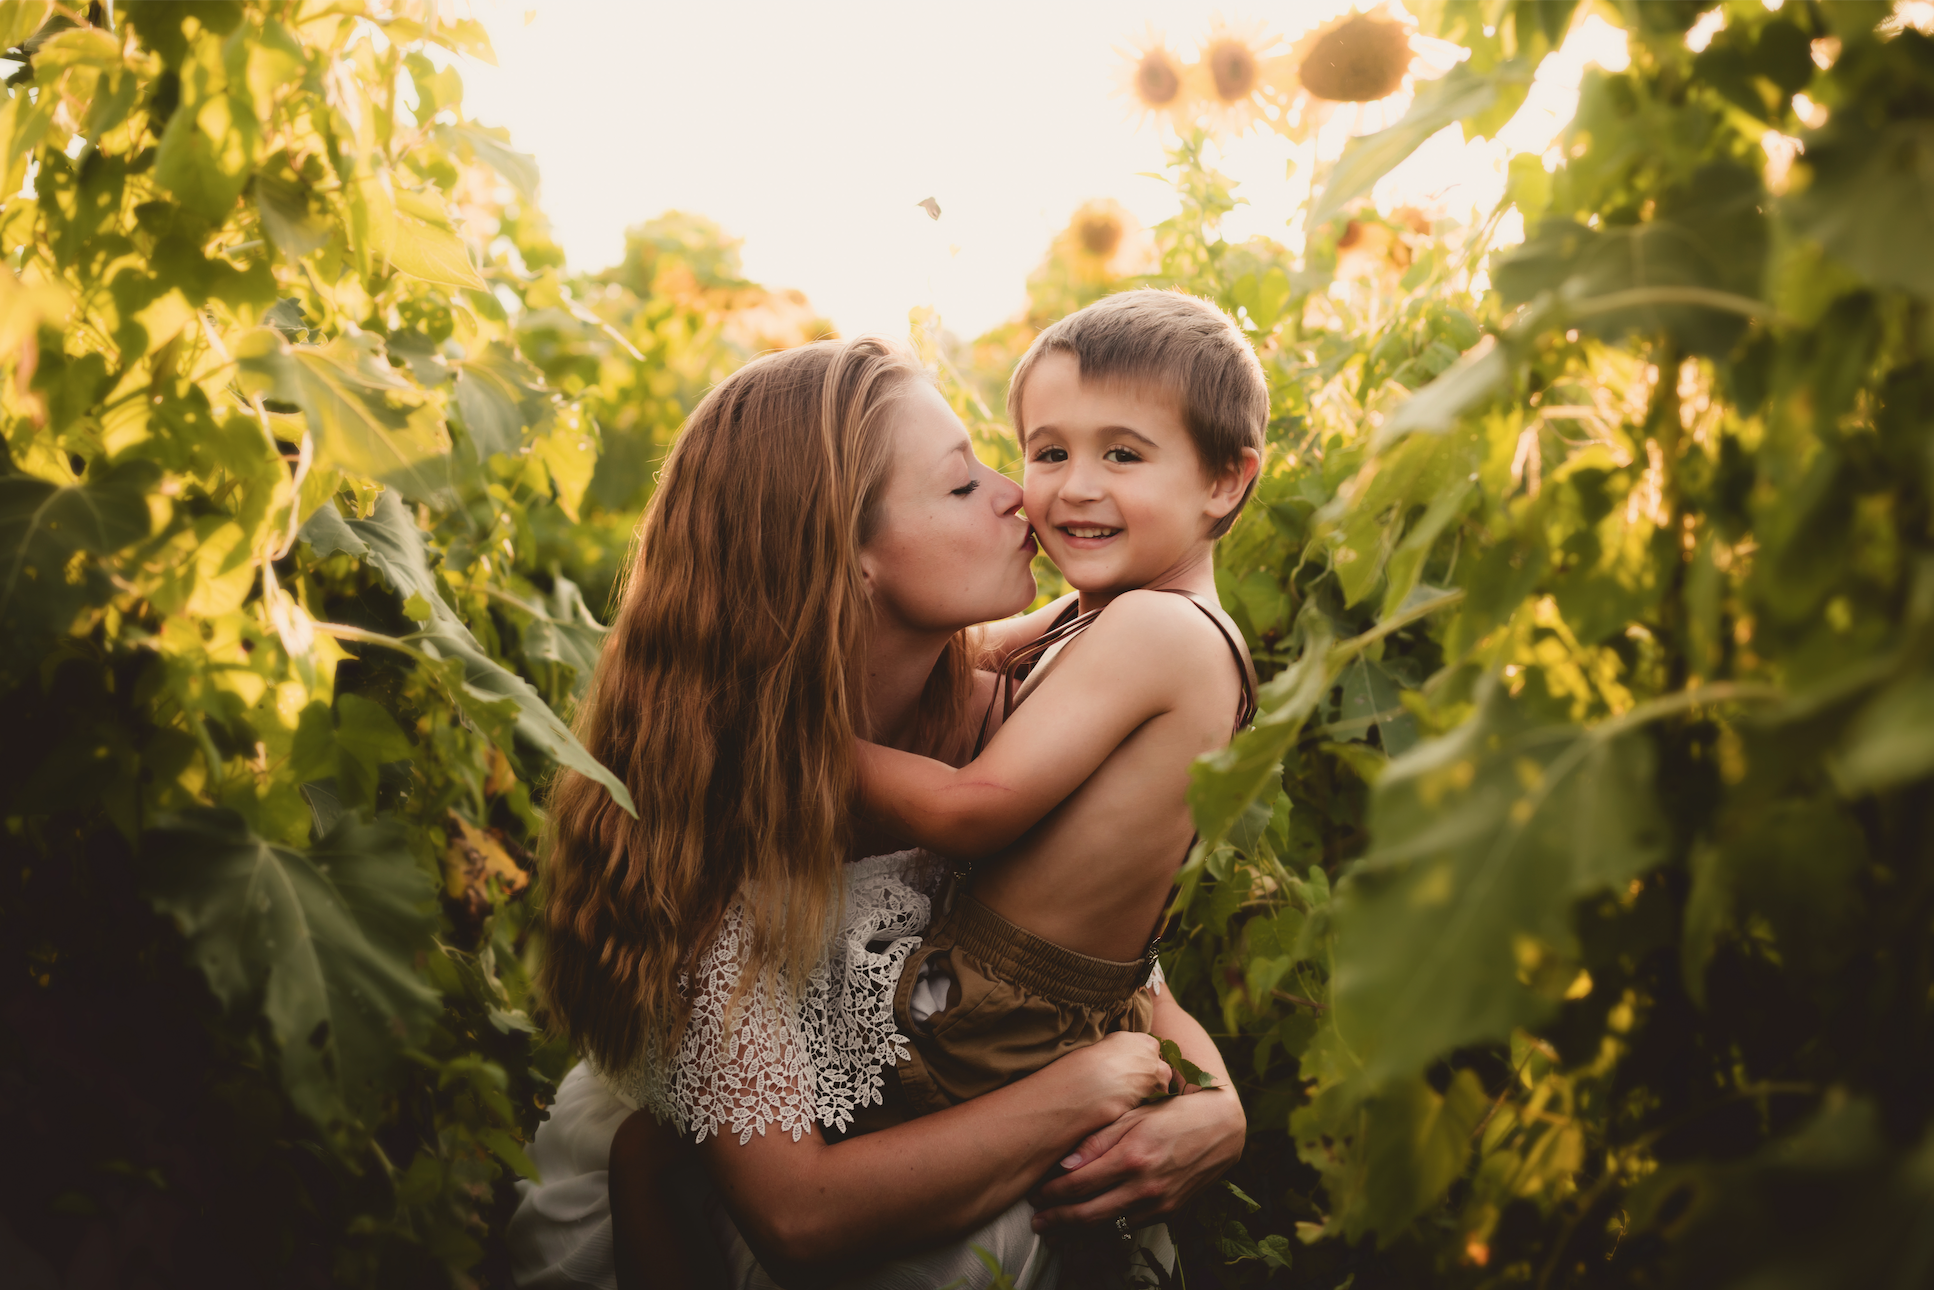
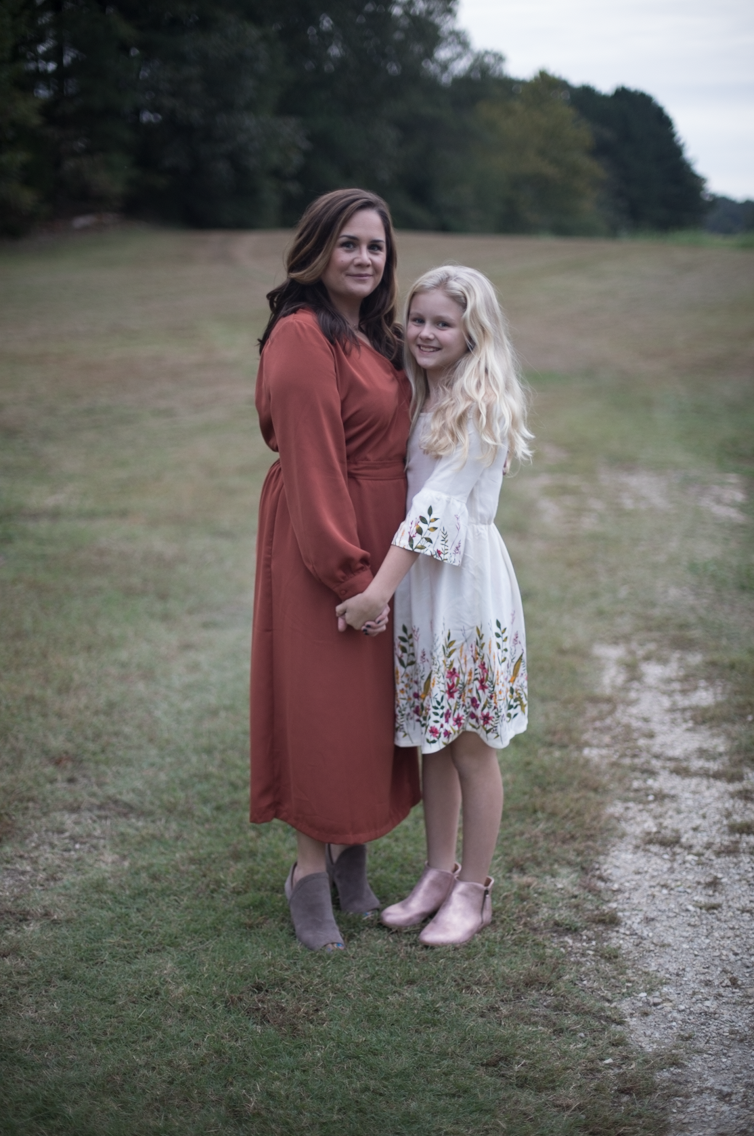
Straight out of Camera (SOOC)
Voila! (All it took was three editing softwares and about 10 years of practice! Piece of cake!)
PPA (Paid Photographers of America) has estimated that for each client, a photographer typically spends around 10-12 hours on processing photos alone (not to mention all the other hours spent on consultations, marketing, bookkeeping, driving, and actually shooting!)
Post-processing is an integral piece of the puzzle, and can profoundly differentiate good photographers from GREAT photographers.
I have three different editing softwares that I use on each and every photograph: Lightroom, Photoshop, and Portraiture. (That’s around $500 in editing software, can you believe it?!)
In my workflow, I start with layer upon layer of light and color enhancements in Lightroom. I ensure that the white balance and exposure is even across the entire gallery, as well as consistent with the rest of my work. I lift shadows and enhance sun flares, adding to the artistic nature of my images. This is where the journey of breathing light and energy into each photograph begins!
I then export the entire gallery to Photoshop, where the photos are “polished”. The changes at this step are typically very subtle and minor, but are definitely crucial!
My photoshop edits focus on a few key things, on an “as-needed” basis:
-minimize the distortion effect of some curved camera lenses
-smoothing out silhouettes
-removing distracting objects
-balancing hairlines
-enhancing the natural way clothing or fabric falls
-head swaps, if circumstances dictate and allow
-lightening dark undereye circles or eliminating blemishes
I first apply several layers of ‘smoothing’ and ‘mattifying’ edits, which lend to a creamy look in my photos. I also professionally sharpen images for maximum clarity and crispness for when they are printed with my high-quality printing partners.
One of my most powerful and subtle editing tools is the Liquify setting in Photoshop, or, the tool that everyone is thinking of when they ask, “can you photoshop me skinnier?” First and foremost, I am a huge body positivity advocate and believe in celebrating ourselves wholly!! But I also honor that this is one of the most common requests I receive, and it always sets my female clients’ minds at ease to know that I can gracefully smooth things over for them, if they desire. While obviously I’m not going to over-edit anyone beyond recognition, it is a standard part of my photography editing to make sure people look flattering in their photos. These final edits are so subtle, my clients have never once even realized where I’ve done them, unless I tell them.
Many photographers edit only in Lightroom, but that’s only the first 1/3 of my process!
I want everyone to look and feel beautiful in their images, which is why these enhancements are a normal part of my post-processing routine. It is my goal for you to love and adore your photos, which is why I use a wide range of skills and expertise in my practice.
When you hire me, you are getting so much more than a photographer. I am a stylist, lighting expert, interior design consultant, photoshop whiz, and of course, your new best friend. I take my profession seriously and want to give you the best experience possible, with beautiful, empowering photos you truly love.
Want more great photography info?


